 How do you get help in this day and age when your extension agent or consultant can’t just pop into your greenhouse and look at a problem with you? Although nothing can replace seeing an issue first-hand, there is still a way to get help with your pest and production issues from a distance.
This post will give you tips on key information you need to send, and how to take good photos, to make getting quick and accurate answers from experts easier via email or messaging.
1. Detailed Info on What’s Happening Now AND the Crop History
Although Extension Agents, Consultants, and Company reps are pretty good at drawing on our years of experience to diagnose a problem, we can’t do that in a vacuum. What we need is information, and LOTS of it to do some deduction. Here are the kinds of details we need when it comes to disease, pest OR production issues.
Describe the Issue You’re Currently Seeing, Including:
- The crop(s) and growth stages affected. Is it in just one crop? On very young plants? One variety? One location?
- Symptoms. This includes a description of the plant tissue affected (leaves, petals, stems, roots) as well as their location on the plant (lower leaves only? growing tips?) and your best verbal or written description of it.
- Distribution. Is the problem scattered throughout the affected crop, appearing in patches, or affecting the whole crop evenly?
- When you started seeing problems. Try to note if this was before or after any significant treatment (e.g. PGR or pesticide applications) or environmental events (e.g. high sun or cloud).
- Any corrective actions you have taken to date, since this could affect test results (more on this, below).

Specifics on Crop History:
- The climate in your greenhouse. This is important to include if you’ve had issues with things like proper ventilation in the past.
- How your plants are irrigated, where the water comes from (cistern? city water?), and if you have any water treatment in place. This can help narrow down if the culprit is due to disease or another issue.
- The results of any recent pH, EC tests or nutritional tests.
- The low-down on your nutrition and IPM programs (remember to BE HONEST about the chemicals you’re using so we can help you better).
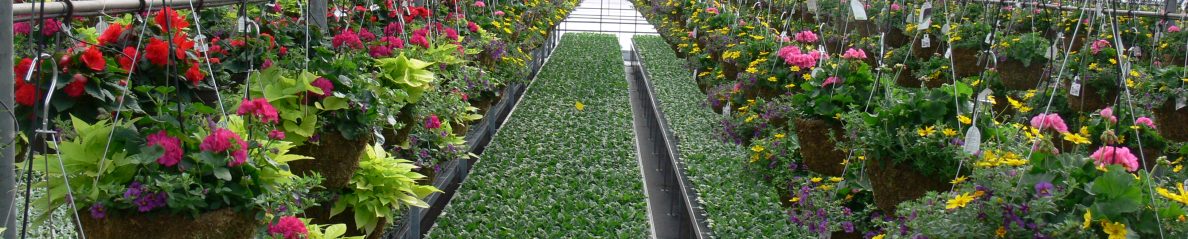
2. Good Quality Photos Showing the Scope of the Problem
It’s an old adage, but it persists because it’s true: a picture really is worth a thousand words. Since we can’t be in the greenhouse with you, you’ll need to be our eyes. Key types of pictures we need are:
- Scope of the problem across the crop
- Some of the whole plant to show where the symptoms are. Photos of the roots might be necessary if wilting or yellowing is an issue.
- Close-ups of the specific problem.
See below for a few good examples of all of these. Also, take more pictures than you think you will need – we’d rather have more than not enough! Ensure pictures are clear and in focus. If you are using your phone, make sure you tap the screen on the subject in question to get it into focus, especially if you’ve zoomed in.


3. Up Close and Personal Shots
While broad problems such as nutritional or environmental issues can be relatively easy to get good pictures of with a standard cell phone, what’s much harder (but just as critical) is GOOD photos of any insect pests.
The easiest way to do that is by buying a microscope with a built-in camera that can easily connect to your computer. This ensures good magnification, lighting and an easy way to email pictures. Some buying suggestions will follow in an upcoming post.
For those where purchasing a microscope camera (and getting it up and running) is not an option right now, there are a few other options
Option A. If you already own a microscope (but without a camera), then you can play around with placing your cellphone camera lens up to one of the ocular pieces. There are even special mounts sold for iphones and androids to make this easier (see an example here). Honestly, this is how I get most of my photos!

Option B. No microscope? Then another good option is to combine your hand lens with your smart phone camera! Here’s an example of a photo taken with my smartphone at a regular distance (left) versus a close up of the pests/beneficials (right). The right-hand picture was taken by placing my smart phone camera lens on top of my hand lens and playing a bit with the distance from the leaf. Take a LOT of photos to be sure you get a clear one – I always check by zooming in on the picture on my phone first before I send it to anyone.

Option C. Does the hand-lens hack sound too finicky for you? Well, there are also kits you can buy specifically for smart phones that have macro lenses included! Find an example here . (Don’t let the name fool you! Macro lenses are what we use to take pictures of Micro things.)
4. Reports from Diagnostic Labs
In a situation where your consultant/extension specialist can’t make it in person, results from Diagnostic labs are even more important. These include:
- DNA analysis of water and/or plant tissue for pathogens
- Plating on agar to confirm live pathogens (this is important if you’ve already applied treatments, to see if they were effective), and
- Nutritional analyses.
Your consultant/specialist can help interpret these results and put them in the larger context of the damage your seeing.
5. Be Forthcoming!
Make sure to tell us as much detail as you can – even if you think you may have messed something up! It’s far easier to deduce your problem that way, then to make us try and guess the issue (or test our knowledge from a photo out of context). Many symptoms (e.g. wilting plants, leaf drop, necrotic leaf spots) can look similar even if they’re a result of different causes (disease, EC problems, phytotoxicity). Consultants and extension agents often need the “big picture” from you before we can narrow down a specific problem.